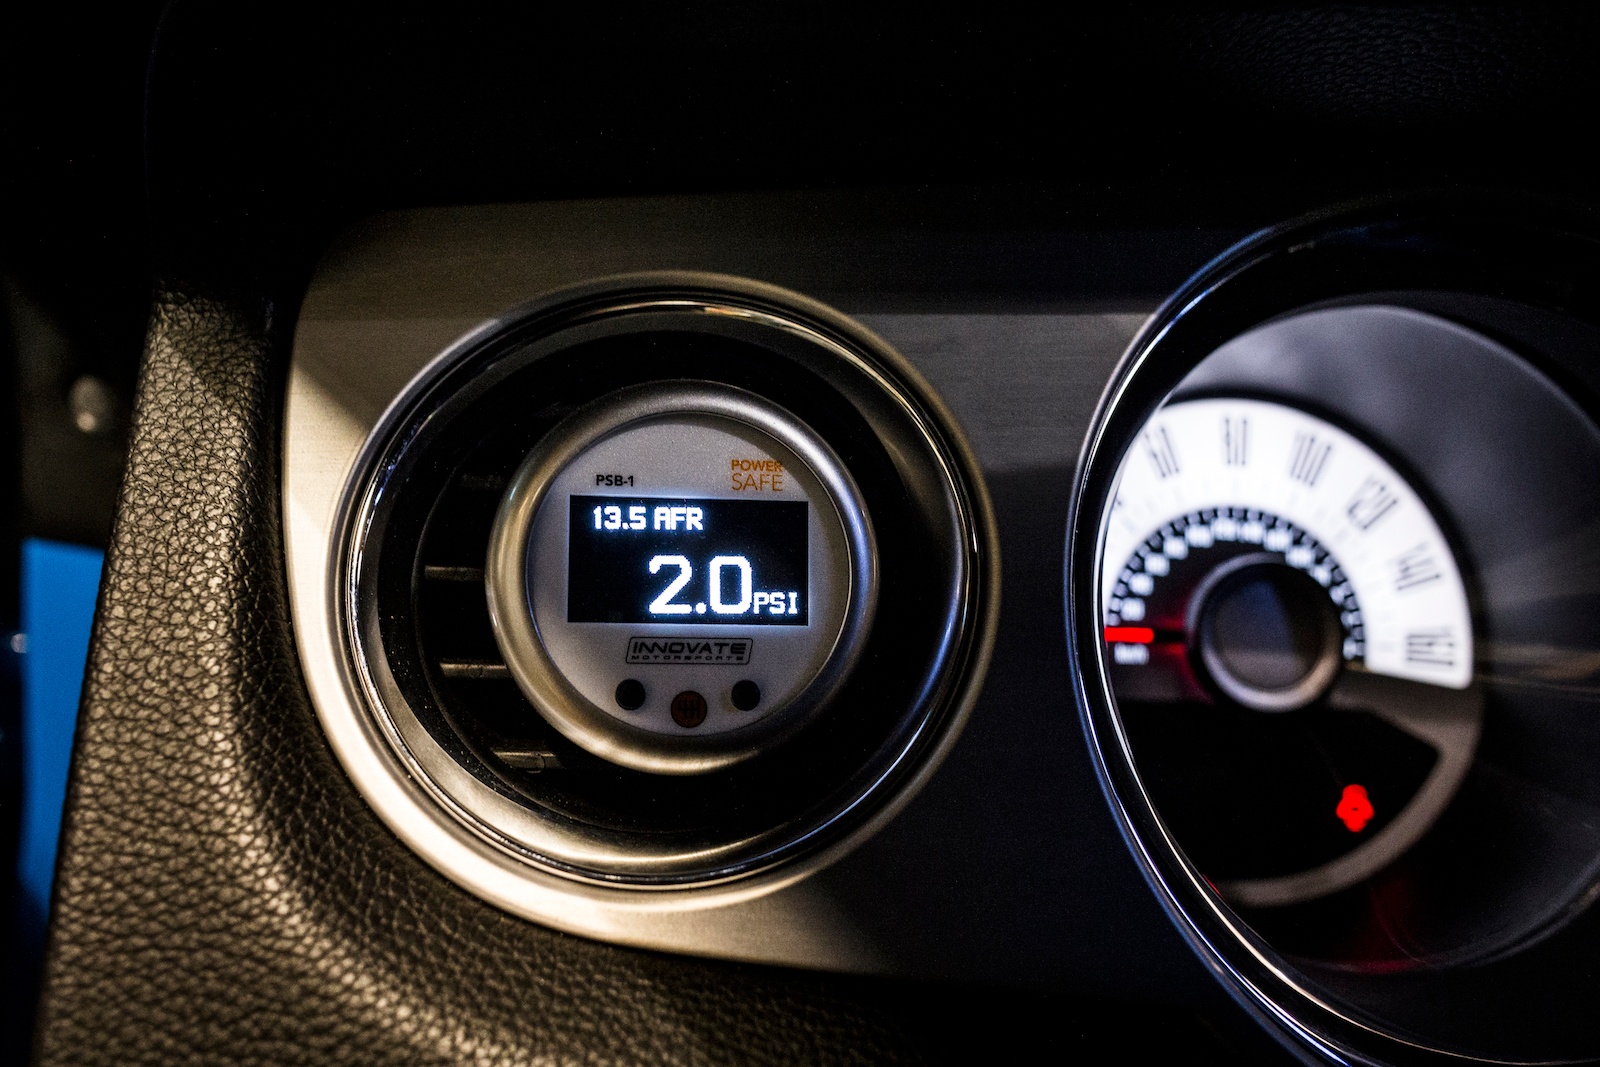
We install a PSB-1 on a ProCharged 2012 Mustang and use the PowerSafe function to operate a blow-off valve solenoid!
—
Originally featured on Front Street Media.
When a vehicle uses an artificial means of boosting engine output, such as a turbo- or supercharger, monitoring engine performance through the use of a wideband oxygen sensor is a way for your tuner to dial in your engine’s calibration. In the event of a fuel system malfunction, the engine can be severely damaged, so using the proper instrumentation to keep tabs on the engine’s performance – especially under boost – is critically important.
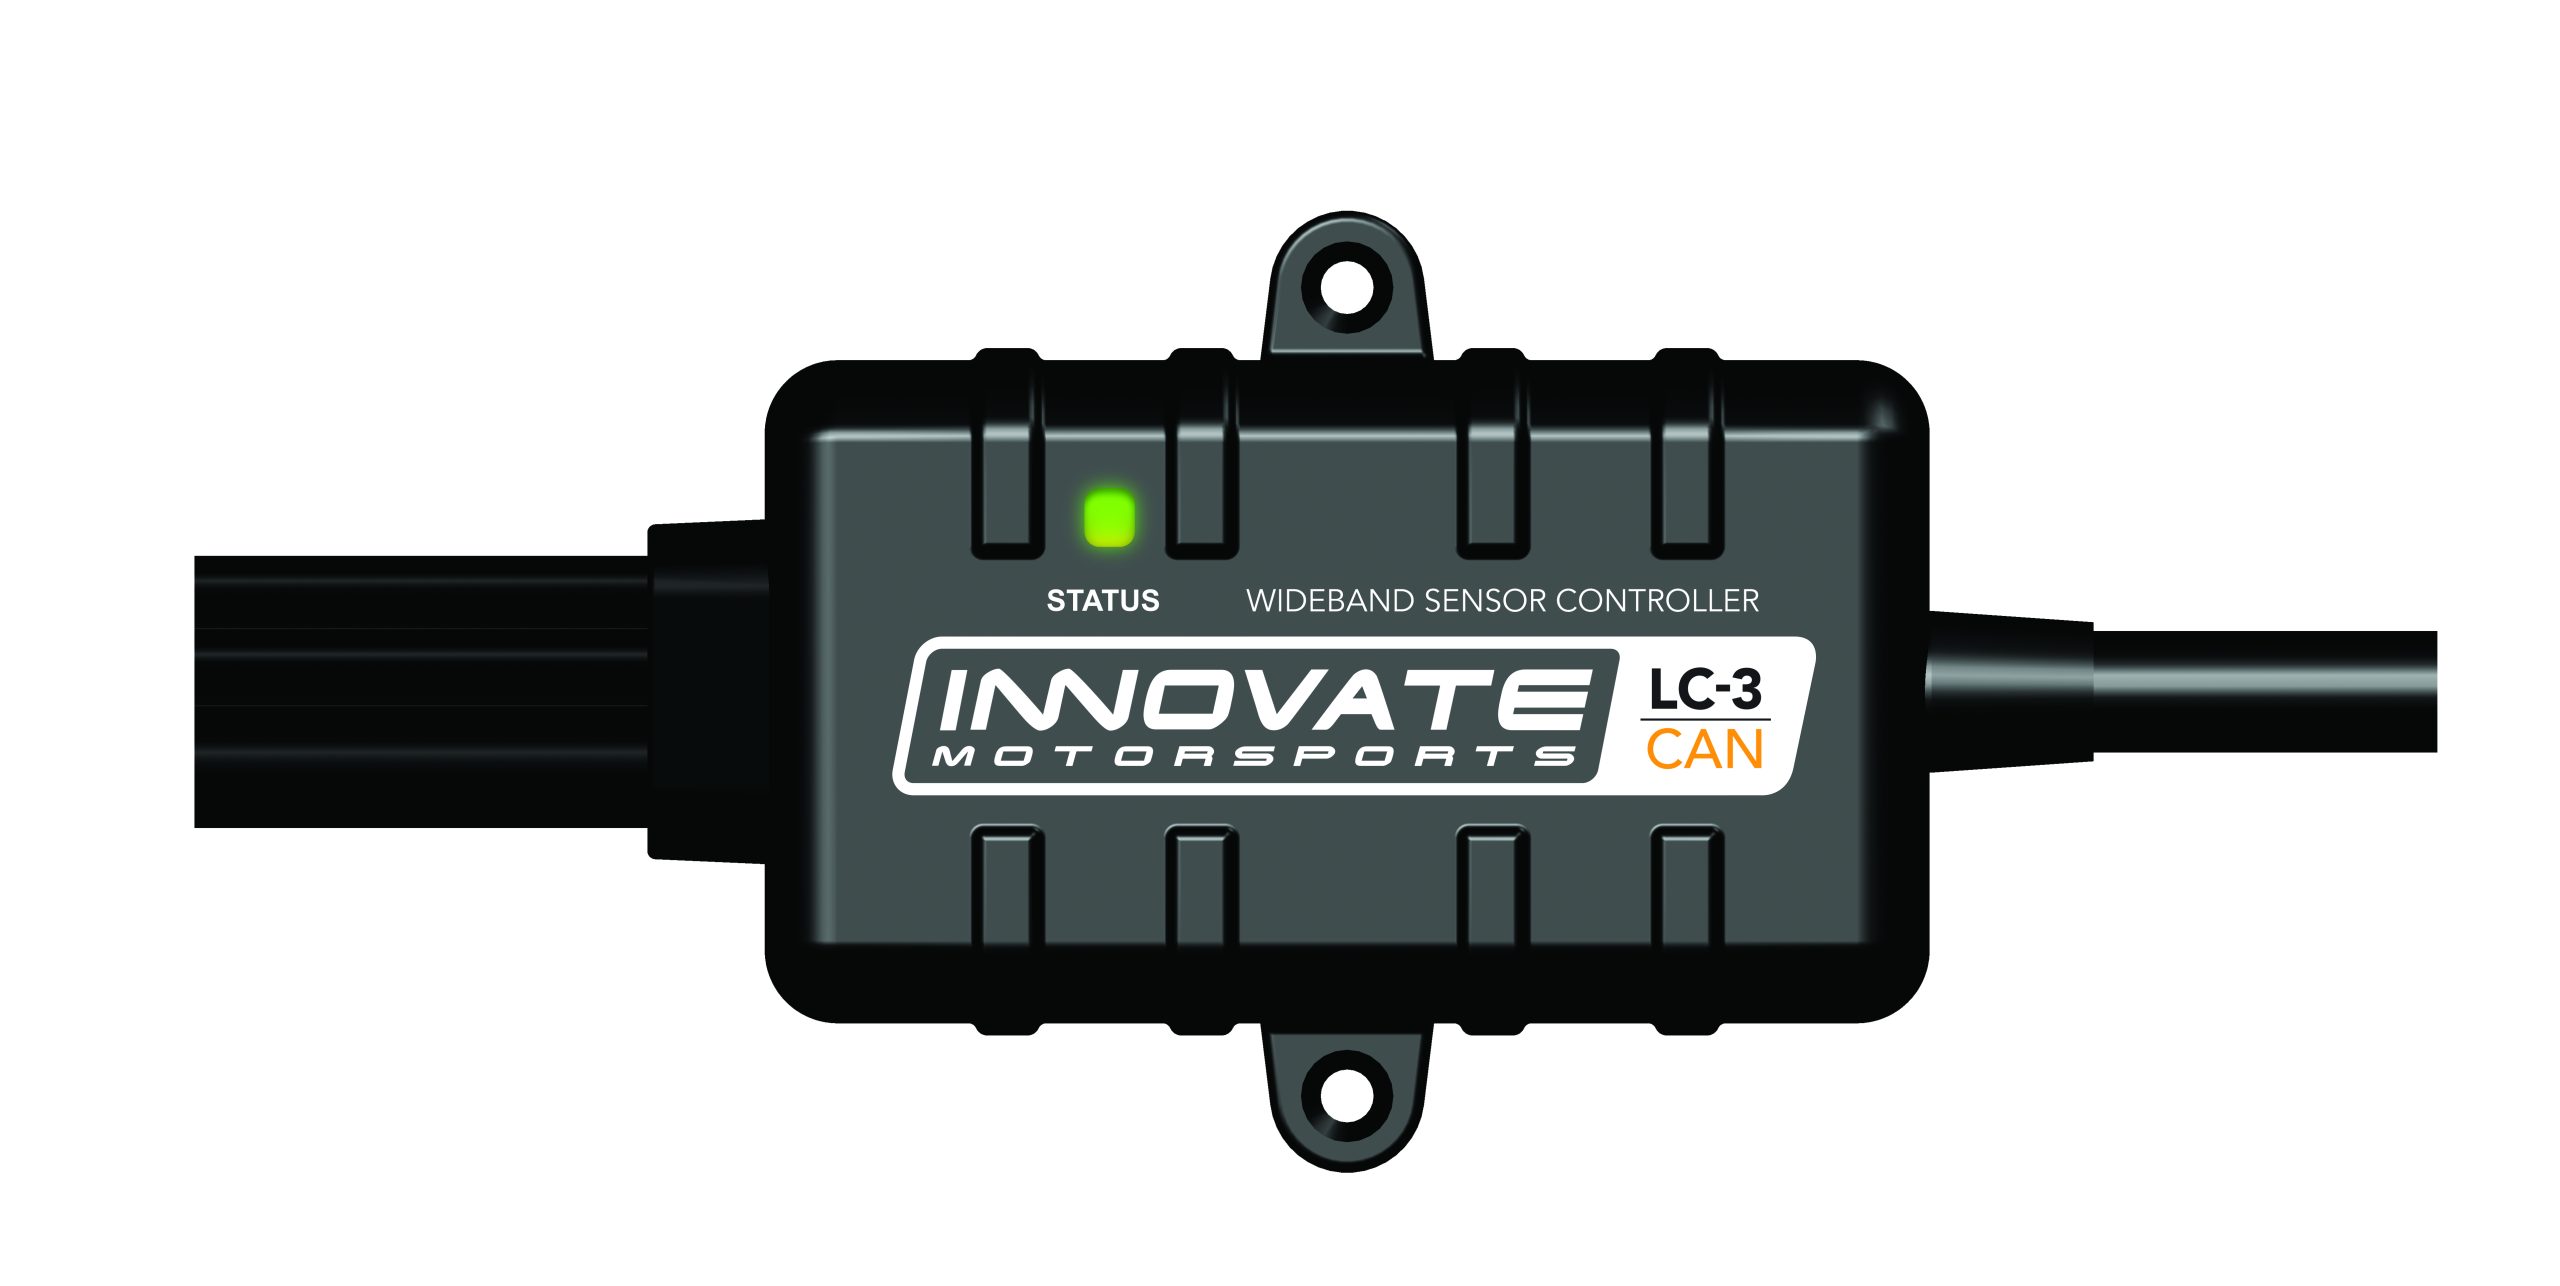
Put simply, a wideband oxygen sensor is capable of precisely measuring the amount of oxygen in the exhaust tract, allowing the calibrator to balance the engine’s operating parameters accurately. This makes the most difference to the end-user in the drivability of the vehicle. There are many engine management tables for the calibrator to adjust in modern vehicles – even more so when today’s variable camshaft timing systems are taken into account – and the detailed information a wideband oxygen sensor can provide is paramount to the calibrator’s success. Some vehicles, such as the Mustang in this article, are delivered with wideband sensors already in place upstream of the catalysts, but the information is not readily viewable without hooking a laptop up to the vehicle’s on-board diagnostics port and using some sort of software to view the parameters.
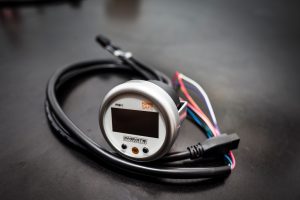
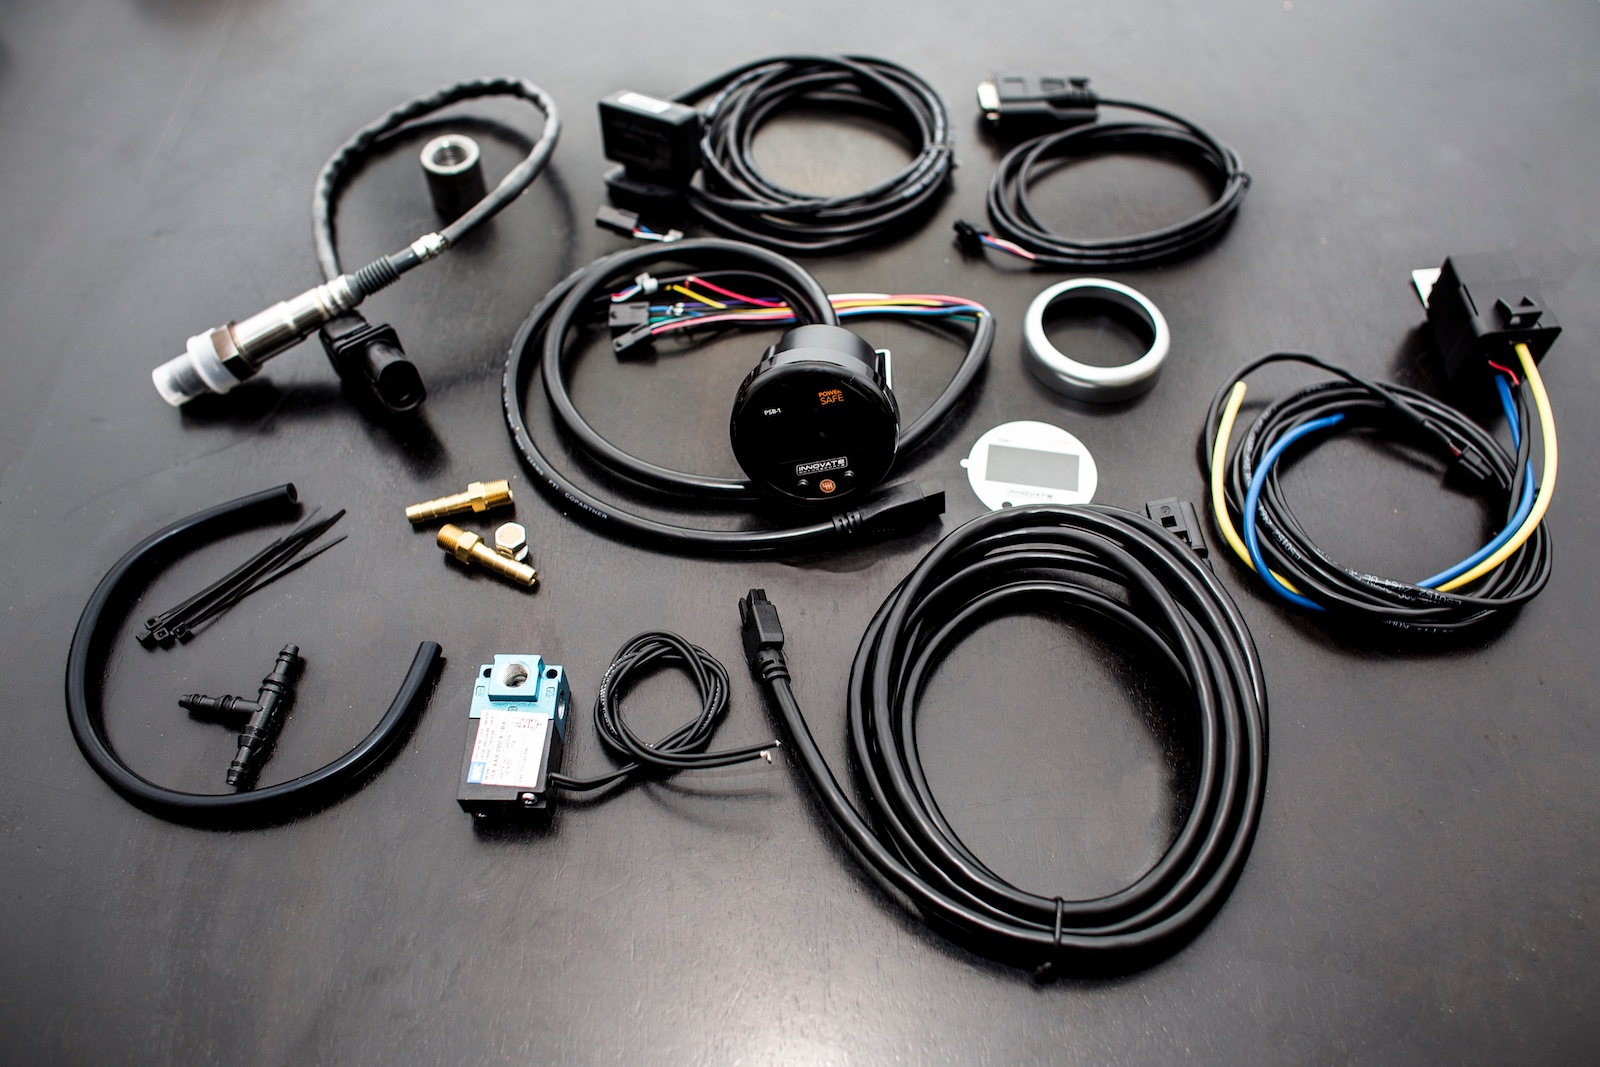
Enter Innovate Motorsports’ PowerSafe Boost & Air/Fuel Ratio Gauge [PN PSB-1], designed specifically to monitor air/fuel ratio and boost in one easy-to-read design. It also performs a number of other functions as seen below.
Main Features:
- OLED configurable display
- Boost, shift light, air/fuel ratio
- AFR or Lambda, inHG, PSI, kPa, or BAR
- 4 bar MAP sensor, pressure range -29 inHG to 43.5 psi
- User-programmable boost cut safety feature
- Boost cut by pressure
- Boost cut by lean air/fuel condition
- Patented DirectDigital wideband sensor control
- Wideband compatible with leaded, unleaded, diesel, E85, and more fuel types
- Configurable linear 0-5v analog output for wideband oxygen sensor for use with piggy back or stand-alone ECU’s as well as external data loggers
- Innovate MTS serial in/out (for use with other Innovate & 3rd party MTS enabled devices to add additional logging channels)
- 3 channels of loggable data with powerful LogWorks PC Software (MAP, RPM, A/F)
- Integrated programmable shift light
The PSB-1’s interchangeable face plates are easy to swap out. The kit comes configured with a black bezel and black face and has an optional silver bezel with white face.
How It Works
Once installed, operation of the PSB-1 is simple and efficient. There are only two buttons to control all of the unit’s functions, or you can download the LM Programmer software to interface the gauge with a laptop.
In this case, we used the buttons to set the display up, with boost pressure shown in the primary location and air/fuel ratio in the secondary position.

On-gauge setup is performed through the left-side button; simply press and hold until the gauge moves into setup mode, whereupon either the left or right button can be used to cycle through the ten different setup parameters. To make a change to a particular parameter, once it is displayed on the screen, press and hold the left side button to make a change. The display will flash, and once the parameter is set, you can move to the main screen by pressing and holding down both buttons at the same time, or by leaving the gauge alone for 15 seconds. It will revert to the main screen at this time.
If you choose to set the unit up by using the LogWorks 3 and LM Programmer software, use the included cable to interface with your computer. Take note you’ll need a serial-to-USB adapter – you can get one from Innovate (PN 3733) or any source where you can purchase an adapter that includes the proper drivers for your operating system. Changes are easy with the software; simply tap the “program” button in the LM Programmer software when your desired parameters have been set, and it will program the gauge properly.
Display Settings:
- MAP Units: Display pressure in inHG/PSI, kPa, or BAR
- Wideband O2 Units: Display in air/fuel ratio or Lambda
- Enable Wideband: Enable or disable the sensor
- Fuel Type: Change to different types when gauge is displaying in air/fuel ratio
RPM Settings:
- RPM Mode: Select pulses per rotation based on tach signal
- RPM Scale: Select either 10,230 or 20,460 RPM scales.
- Shift RPM: Set shift light activation RPM
Relay Settings:
Boost cut by pressure: This is a safety trigger to cut boost at a desired maximum manifold pressure. When the safety Boost Cut by Pressure is triggered, the PSB-1 will display “B Cut” on the upper right hand corner viewport and the relay will interrupt all solenoid control and boost will default to spring pressure.
Boost cut by air/fuel ratio: This is a safety trigger to cut boost by a defined AFR. There are two setup parameters to trigger this safety cut: Start Pressure (AFR Start Press) and AFR Cut. Start Pressure (AFR Start Press) is the minimum manifold absolute pressure where the safety cut will become active. AFR Cut is the defined lean A/F that will trigger the safety cut. When the Boost Cut by AFR is triggered, the PSB-1 will display “O2 Cut” on the upper right hand corner and the relay will interrupt all solenoid control and boost will default to spring pressure.
The Install
Over the course of a day, Vinny Palazzolo and the team at R&S Automotive Specialists in Phoenixville, PA, helped to install the PSB-1 into this supercharged Mustang and set it up for proper operation.
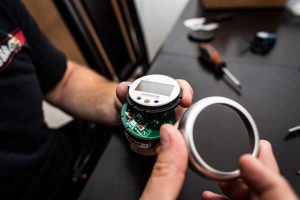
The first order of business was to swap out the gauge face; Innovate ships the gauge with the black face installed, but to match the daytime look of this Mustang’s white-face gauges, we swapped the black face for the alternative white panel, a quick process. Remove a few screws on the back of the unit, swap the plate out, and reverse the process. Pay attention to the notch inside the bezel, which helps to line up the gauge face and glass cover plate, and make sure you don’t drop any of the buttons in the process.
As there was a boost gauge already installed in this particular car, the mounting location was previously determined. This replacement vent came from Roush Performance, was a super-easy installation, and places the gauge in the perfect position.
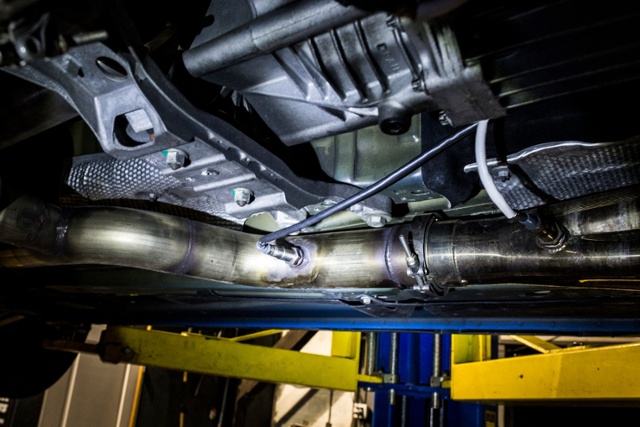
The installation of the wideband sensor into the car’s H-pipe was also easy; there was an unused oxygen sensor bung already in the pipe, so we didn’t have to drill any holes or do any welding. If you don’t have one of these, you’ll need to drill a hole in the pipe, or header collector, and break out the welder. The weld must be accurate – if there’s so much as a pinhole in the weld it will cause the sensor to report false readings.
Once the entire gauge install is complete, the sensor needs to be calibrated in conjunction with the gauge. There is an easy-to-follow walkthrough in the instruction manual.
Instead of using the gauge’s mounting bracket in the forward position, it only fit in the reverse position with the Roush gauge mount. As the old gauge was simply pushed into the mounting hole (it was an eBay purchase with no bracket), the new gauge is much more secure using this method. The cluster surround needed to be removed for this part of the install; once the steering column is dropped to its lowest position, the surround simply popped from its mounts and pulled free.
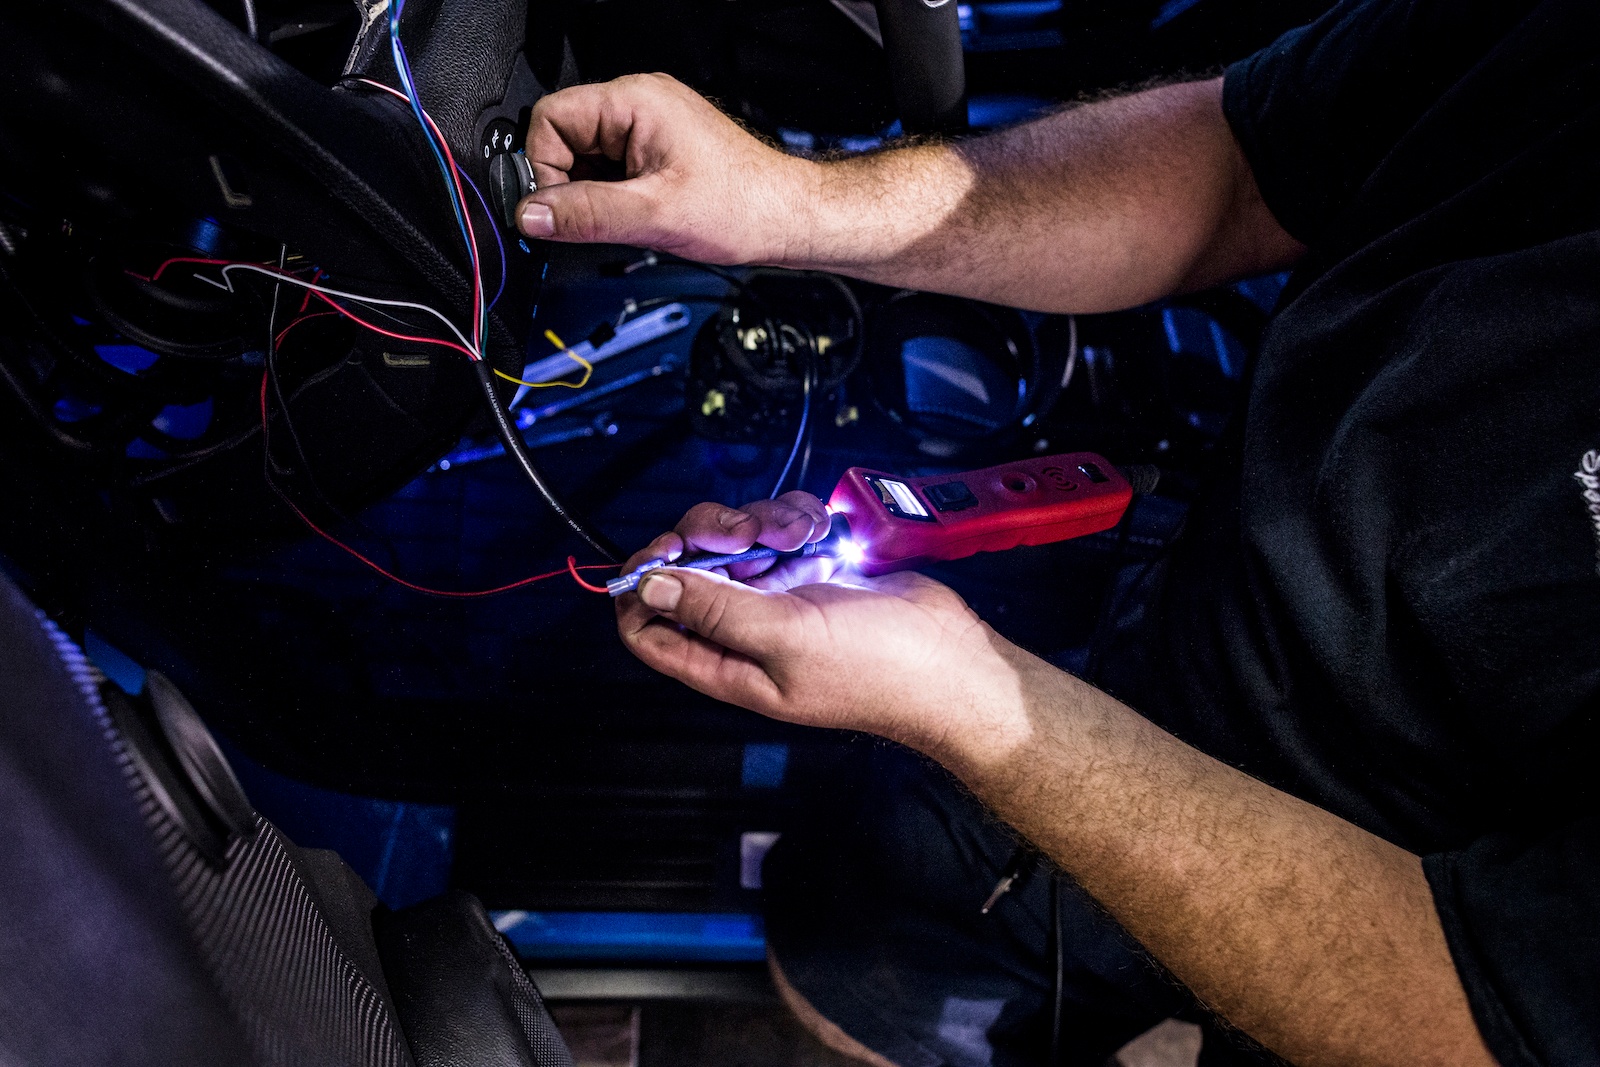
Palazzolo went the extra mile to ensure these wiring connectors were connected securely. In certain locations, butt connectors and heat shrink were used; in others, the soldering iron was put to work. He tapped into the headlight switch for the illumination circuit.
An existing firewall grommet was removed and clearanced for the new wiring, which was then fed through the firewall and plugged into the back of the gauge. The oxygen sensor, MAP sensor, and harness for the PowerSafe solenoid were passed through here.
The 4-bar MAP sensor can be mounted in a variety of locations, but the nipple for hose attachment must be mounted facing toward the ground to ensure proper operation. Since it was so light, rather than drilling holes in the firewall we simply zip-tied it to an existing harness.
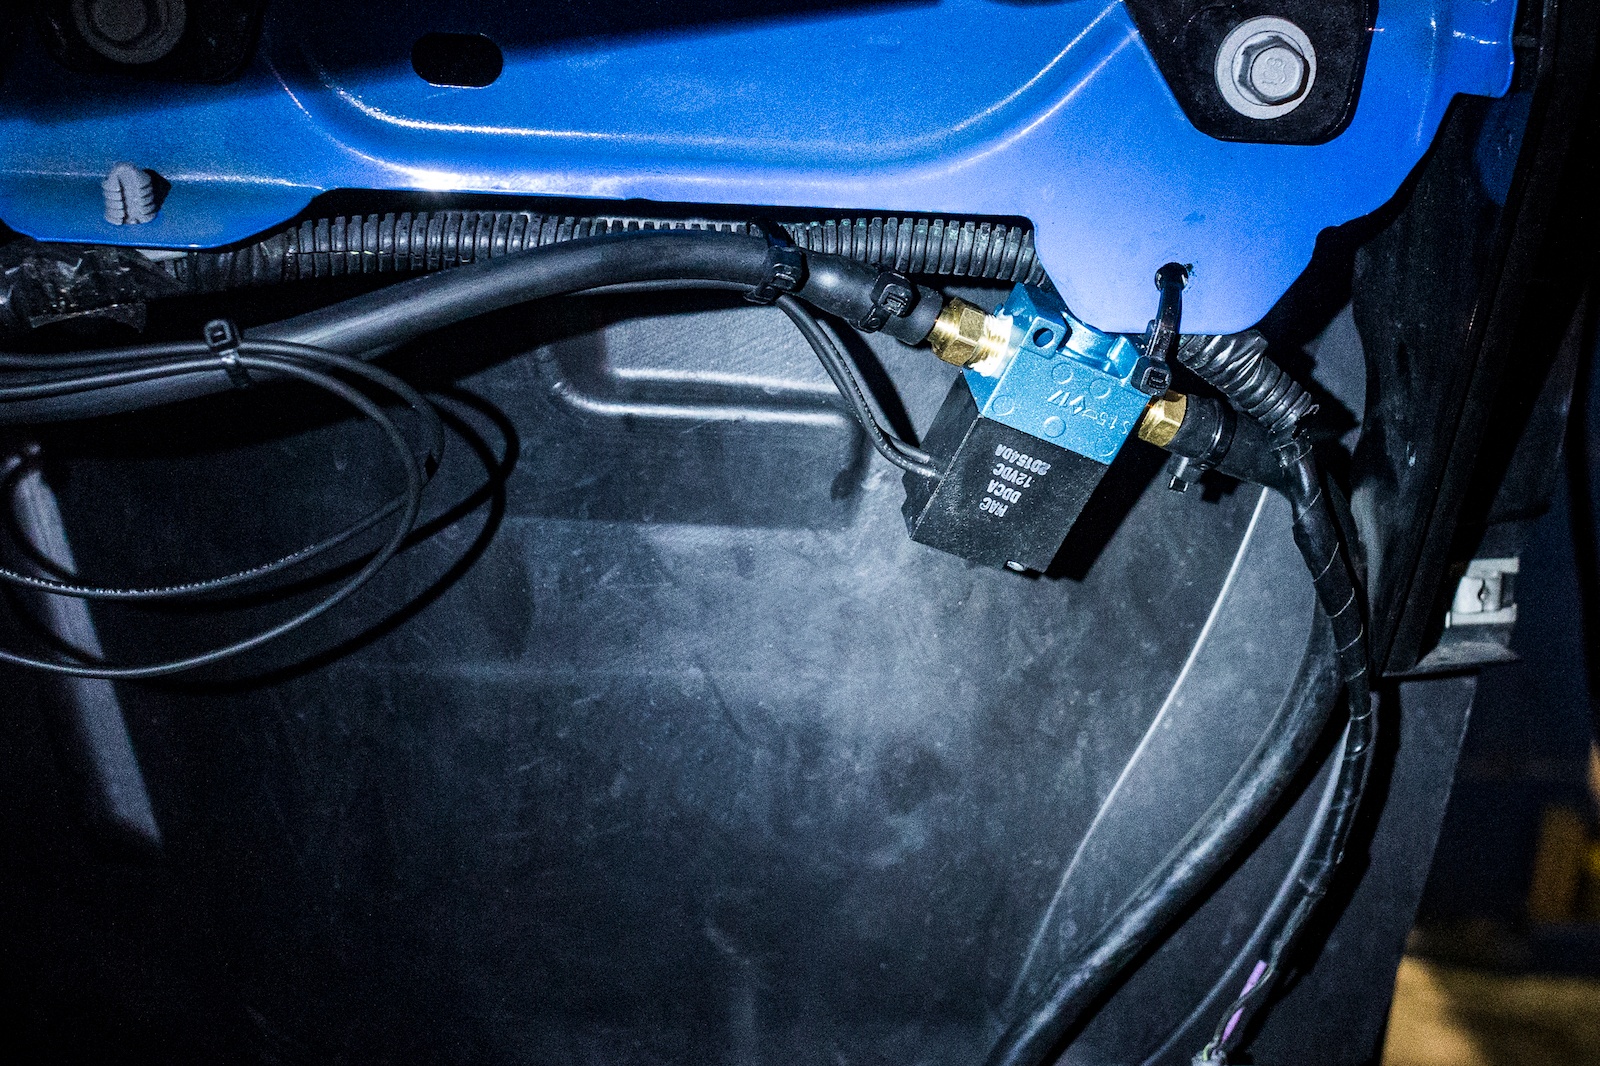
The PowerSafe solenoid functions by opening the circuit when the user-defined conditions are exceeded, which prevents the blowoff valve from closing and the supercharger from building boost. In other words, it protects the end-user from potentially hurting the engine when the conditions are unfavorable, such as with a fuel pump issue or injector failure. Wiring the solenoid up is simple – there is a two-wire harness which goes to the gauge, and two leads on the solenoid itself. After installing quick-disconnect terminal ends on each wire, we verified that the solenoid had power at idle and the pass-through was allowing the blowoff valve to work correctly. Keep in mind that if you want to use this feature, the solenoid is not included with the PSB-1, but can be purchased from Innovate Motorsports. Also, any typical 3-port boost controller solenoid can work for this application.
During normal conditions, the valve will allow the boost/vacuum reference to run through the solenoid to the blowoff valve. When a fault is triggered while in boost, it will cut off the pressure source from the manifold. This will force the blowoff valve to open from the pressure inside the piping and that vacuum reference will then be vented to atmosphere. You can route the air back to a post MAF intake port as well. A vent-to-atmosphere setup like the one in this car will create in instant rich condition, which is exactly what you’d want if the motor were to lean out. Once out of boost, the solenoid will return to its normal operating position.
To test the system’s operation, the AFR Cut was set at 11.9:1, and the boost pressure was set at 1 psi. A quick drive to let the supercharger build boost, the solenoid’s operation was clearly heard, and the boost pressure fell off as intended. When the PowerSafe system is operating and the defined conditions are met, the words “Boost Cut” will appear in the top right corner of the gauge. As you might imagine, with a 600-plus horsepower car, it wasn’t possible to photograph this particular portion of the install. Once we verified the operation of the gauge, the conditions were set to 12.5:1 air/fuel ratio and 3 psi, which will keep us well in the safe zone should there be an issue. The Innovate Motorsports PSB-1 PowerSafe gauge looks right at home in its position, and works flawlessly. Once we get a few spare minutes, we’ll hook up the shift light, then get back to the track with the car.
